Here’s a hands-on Azure AI Search setup using the Azure portal, which is the easiest way to learn it end to end.
The fastest path is:
- create an Azure AI Search service,
- put sample files in Blob Storage,
- use the Import data wizard to create the data source, index, and indexer,
- run test queries,
- then optionally add vector search for RAG. Microsoft’s current portal quickstarts support both classic full-text search and integrated vectorization through the Import data wizard. (Microsoft Learn)
What you’re building
You’ll end up with:
- a search service,
- a storage container with documents,
- a search index,
- optionally an indexer that keeps the index updated,
- and a search UI in the portal to test queries. Azure AI Search indexes store searchable documents, and indexers automate ingestion from supported data sources like Blob Storage. (Microsoft Learn)
Option A: simplest hands-on setup with the portal
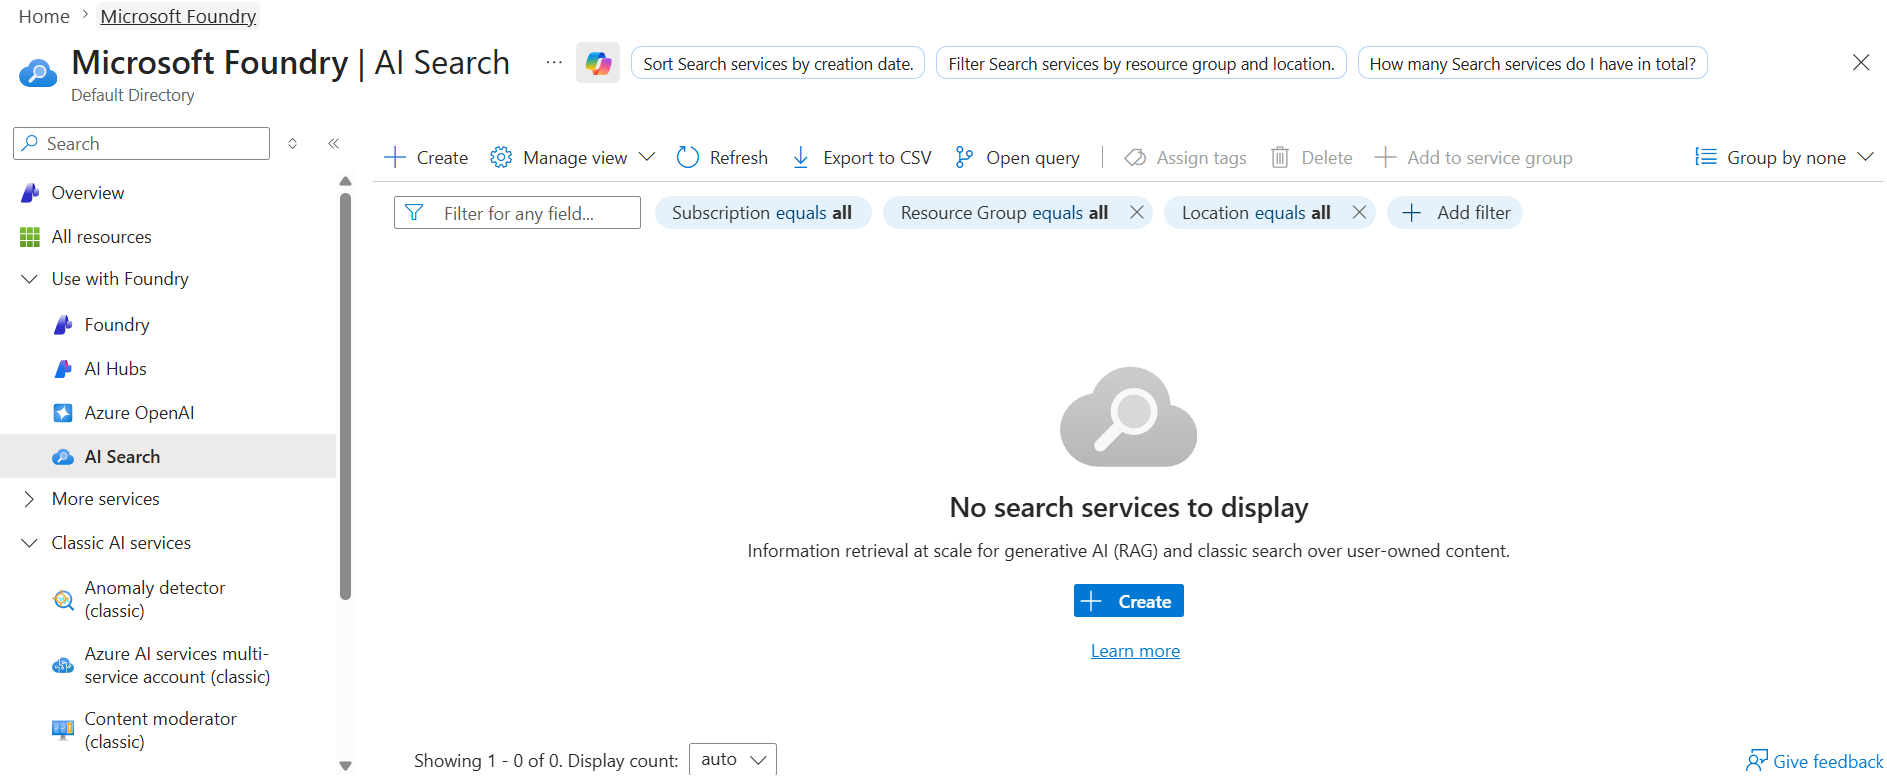
Step 1: Create an Azure AI Search service
In Azure portal, create a new Azure AI Search resource. Pick your subscription, resource group, region, and pricing tier. Microsoft’s service-creation guide notes you create the service directly in the portal and choose region and tier there. (Microsoft Learn)
Step 2: Prepare sample data in Blob Storage
Create or use an Azure Storage account, then create a container and upload sample files. Microsoft’s full-text portal quickstart uses a Blob container named hotels-sample-data and sample JSON content, but you can also use your own files. (Microsoft Learn)
A simple path is:
- Storage account
- Blob container
- upload JSON, PDFs, or text files
Step 3: Open the Import data wizard
Open your Azure AI Search service, then choose Import data. Microsoft documents this as the no-code path that can create the data source, optional enrichment/vectorization, inferred schema, and load content into an index. (Microsoft Learn)
Step 4: Choose your data source
Select Azure Blob Storage as the source and connect it to your container. Azure AI Search supports both push and pull ingestion models, and the Import wizard uses the pull/indexer path for supported sources. (Microsoft Learn)
Step 5: Pick search type
For a first lab, choose Keyword search. Microsoft’s current portal quickstart explicitly uses keyword search for the basic getting-started experience. (Microsoft Learn)
Step 6: Let the wizard create the index
The wizard will infer a schema and create an index. In Azure AI Search, the index is the searchable structure that stores documents and fields, and each document needs a unique key field. (Microsoft Learn)
Step 7: Run the indexer
The wizard can create and run an indexer, which automates loading content from the source into the index. Microsoft’s indexer documentation describes indexers as the automation layer for ingestion from supported data sources. (Microsoft Learn)
Step 8: Test queries
Go to Indexes, open your new index, and try some searches in Search Explorer. Azure AI Search supports full-text querying over the indexed content once documents are loaded. (Microsoft Learn)
What just got created
The portal flow usually creates:
- a data source: connection to Blob Storage,
- an index: searchable schema and content,
- an indexer: scheduled or on-demand ingestion job.
Those are the main building blocks for classic portal-based setup. (Microsoft Learn)
Option B: hands-on setup for RAG and vector search
If your goal is chatbot/RAG, use the vector quickstart in the portal instead of the basic keyword-only wizard.
Step 1: Start with the Import data wizard for vectors
Microsoft’s vector portal quickstart says the wizard can do integrated vectorization, including chunking content and calling an embedding model at indexing and query time. (Microsoft Learn)
Step 2: Provide supported files
The vector quickstart uses text PDFs and simple images from Microsoft sample data, but you can also use your own files. (Microsoft Learn)
Step 3: Configure embeddings
For vector search, Azure AI Search stores vectors at the field level and can combine vector and nonvector fields in the same index. Microsoft recommends hybrid search for many production scenarios because vector and keyword queries run in parallel and return one merged result set. (Microsoft Learn)
Step 4: Run test vector or hybrid queries
Once the vector index is built, test either:
- semantic similarity search,
- or hybrid search with both text and vectors.
Microsoft’s vector overview says hybrid search often gives better results than vector-only or keyword-only search. (Microsoft Learn)
When to use indexers vs push ingestion
Use the portal/indexer approach when:
- your content sits in supported sources like Blob Storage,
- you want a fast setup,
- you want scheduled ingestion.
Use push ingestion from code when:
- your data changes very frequently,
- you need tighter control over updates,
- or your application already owns the ingestion process.
Microsoft’s ingestion guidance explains that indexers are the pull model, while push lets your app send documents directly and is better for low-latency sync scenarios. (Microsoft Learn)
A good first lab
A practical first exercise is:
- create a search service,
- upload 10–20 PDF or text files to Blob Storage,
- run the Import data wizard,
- create a basic keyword index,
- test queries,
- then repeat with the vector wizard and compare results.
That mirrors Microsoft’s current quickstart progression from full-text search to vector search and semantic ranking. (Microsoft Learn)
Common mistakes
The biggest ones are:
- choosing the wrong tier or region when creating the service, since service creation is tied to those settings in the portal, (Microsoft Learn)
- expecting Azure AI Search to search your files before they are loaded into an index, because queries run over indexed content, (Microsoft Learn)
- skipping a unique key field in the index schema, which Azure AI Search requires for documents, (Microsoft Learn)
- using vector-only search when hybrid would usually retrieve better business results. (Microsoft Learn)
Best next step after setup
After the basic setup works, the next useful upgrade is:
- add semantic ranking, or
- add integrated vectorization for RAG.
Microsoft provides separate quickstarts for both. (Microsoft Learn)
